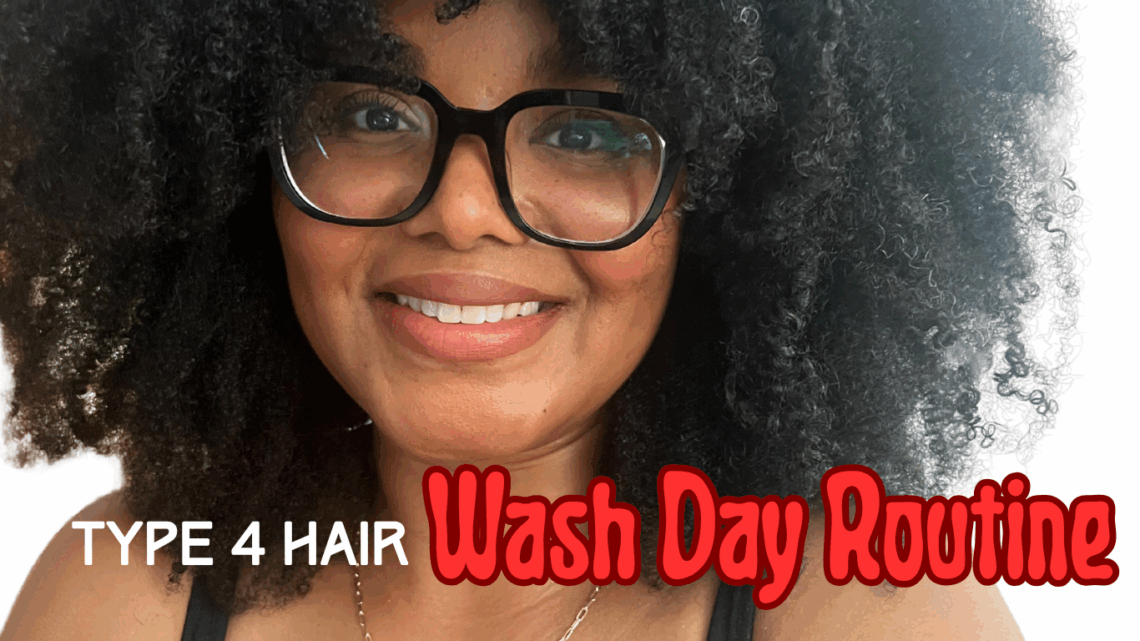
Wash Day Routine For Type 4 Hair: Your Best Wash and Go
A wash and go is another phrase for a wet and set which means that any hair type can achieve this look. Why? Because it’s about setting in place what your hair already naturally wants to do which is curl up. Do not fall into any trappings of the mind or media that try to convince you that wash and go’s are not for kinkier hair types.
The following techniques will help you to build a solid routine that you can come back to often. We are going to enhance what’s already naturally showing up for you so that you can feel confident with your wash day routine.
Some of the links in this post are affiliate links, meaning that if you click through & make a purchase, I will receive a small commission at no extra cost to you. Thank you for your support!
Your Wash Day Routine Prep
The tighter the curl, the dryer it tends to be which means it’s very hard to “over moisturize” this hair type. Your hair needs water and lots of it but before that it needs a booster. Oftentimes dryer textures take a while to have the water soak into the hair. Applying a pre poo to the hair helps to jumpstart that moisture process and also leads to hair that’s easier to manage.
Don’t fall for any gimmicky products that say “pre poo” on the front. A good ole cheap conditioner will do the trick. In fact, I recommend going the economical route with this pre-poo product since it’s one of the things in your hair staples that will be a big consumable. So that means run and get your Suave, your Tresemme or Aussie moist and go to town applying it to your dry hair before you water it.
Other benefits of the pre-poo include being able to lightly finger detangle before shampooing and reducing the risk of breakage to the hair. I don’t recommend oil if you want to try to detangle prior to shampooing. While there are amazing benefits to oils, I believe they work best when coupled with heat. Otherwise, they do not provide much slip to the hair and can end up making a tangled and broken mess.
Cleanse Thoroughly Without Stripping
I’m not against co washing but that shouldn’t be your main method of cleansing. Many of us do not follow the traditional curly girl method as it was intended, which is using products without silicones. For those reasons, we need to be starting off with a clean slate.
Hair that has layers and layers of conditioner on it isn’t necessarily moisturized. The best way to get moisture into your hair is to wet it thoroughly and then go in with a cleansing shampoo. Moisture is the back bone of defined curls and we want to give our hair the best shot by removing the build up that blocks and repels water. There are plenty of great cleansers out there that clean well without stripping the hair.
If you want to take your wash day routine up a notch, incorporate a scalp exfoliating scrub. These products are incredible at removing dead skin and built up debris from the scalp. Using one of these monthly should suffice.
Deep Conditioning
Unpopular opinion here, but I don’t believe that deep conditioning is necessary for long hair or a great wash and go. I’m the type of natural that applies my regular conditioner and lets it sit for a few minutes in the heat of the shower allowing that to suffice as my deep conditioner.
When I do have time to deep condition my hair, I really enjoy the extra pampering and feel goods that accompany such a luxury. If you choose to do full on deep conditioning sessions all you will need is a thicker conditioner (or a regular one that you leave on for longer). Then add time and heat. It’s that simple.
The Curl Definition Process
This is the section that is the star of the wash and go process. The key to remember here is this, how your hair looks when wet is how it will dry. We can manipulate once dry and we will get to that a bit later but understand that the bulk of the “work” of a wash and go is in the product application step.
Leave in Conditioner
There are tons of leave-in conditioners on the market and this is the part that becomes trial and error. It takes time to find your favorite products and what works best with different stylers. Make this a fun process and know that if you mess up, you can always start again with the next wash and go. Tweaking is par for the course here. That said, there are a few things you can use to help you while standing in the product aisle.
- Know what results you want for this wash day routine. Fluffy hair requires lighter products. Tamed definition typically requires thicker products that make your hair clump. Keeping the end in mind will help you determine whether or not you should choose the water based leave in or the thicker cream conditioner in the jar.
- If you’re really confused, start with one product line. Go to the store and read what the product claims it will do on the bottle. When you flip it over to the back and find the instructions on how to apply it, most of the instructions will tell you to use the product with their brand of styler.
- Use one leave-in product at a time. In the beginning when you’re experimenting, it’s wise to use one leave in and one styler at a time. You want to be able to easily pinpoint what products worked well with your hair and what products didn’t. Too many variables in the pot makes for confusion. And while methods like the LOC/LCO(leave-in, oil, cream) do work well, I find it to be a bit much for folks who don’t want to do a routine that has a bunch of steps. One leave in and one styler is all you need.
Your Styler
Your styler goes on top of your leave-in. You can choose a gel, a curl cream, or a mousse. They all work according to the results you want to achieve. Gels by far are my favorite. They are tried and true and give me the definition, elongation and shine that I want.
If you want a softer hold you can try a mousse but know that the mousse on thicker hair needs to be applied in small sections to fully saturate and define the roots. Curl creams also provide a soft hold with plenty of shine but your style may not last as long as it would if you had used a gel.
Application Techniques
This is one of the most important steps to understanding how to do the wash and go. How you apply the product can make a huge difference in the definition and longevity of your wash and go. These techniques are to be applied once you have your styler in your hair.
Raking Method
With this method, you rake the product through with your fingers to evenly distribute. Take care not to disturb too many clumps, you still want to encourage your hair to clump up where it naturally wants. You can break apart once dry.
Shingling Method
This requires you to get a bit more granular and separate the curls and individual clumps as you apply the product. Once your styler is on the hair, you can naturally see clumps forming which allows you to separate easily. Make sure you are separating up to and through the roots of your hair so that when your style is dry you don’t end up with unnecessary tangles.
Praying Hands Method
Here you take each section of hair you’re working on and run your hands vertically down the hair from roots to ends with your hands together. This is a great way to get done with your wash and go quickly. You also get a bit more volume with this method as opposed to the others which focus on separating curls.
Finger Coiling
This is for those stubborn curls or heat damaged pieces that won’t curl up on their own. Take the hair and coil it around your fingers from roots to ends. Do not disturb the coil until it’s dry for best results.
Experimenting with each of these techniques will be helpful when testing which results you like best. Have fun with this step and get curious about the process. You will be surprised with what you learn your hair can do.
Drying Techniques (Air Drying or Diffusing)
When it comes to drying you really only have two options. Heat or air drying. You can use a microfiber towel to get the drying process started and either diffuse or air dry after that. Air drying is the easiest option and also means your wash and go routine is pretty complete here (once fully dry you have the option to stretch and fluff the roots, break the gel cast, etc).
If you choose to diffuse, put your dryer on low speed and high heat to avoid creating frizz. You will also want to purchase a diffuser attachment to focus on drying the roots without disturbing the curls.
Your Wash Day Routine Complete!
You’ve now come to the end of your wash day routine! Practice makes perfect and having these core tips at your disposal will put you in a better position to get the results you want. The main thing is to keep the end in mind. Knowing what you want your end results to look like will help you have consistently satisfying wash day routines.
If you have any questions, feel free to leave a comment and I can answer any one offs more specifically for you. Happy wash day!
Wash and Really Go
I am a wash and go enthusiast helping busy women to master thier curls. I focus on all aspects of the wash and go including cleansing, moisturizing, styling, products and tools to help naturals complete thier hair care routines as quickly as possible while maintaining healthy hair.